Applying for the Indian Visa: e-Visa and Regular
Planning your trip and thinking about applying for the Indian Visa?
You probably already know if you need a visa or not, but most nationalities do. You can check out the countries that are exempted from the Indian Visa.
But you don’t have to worry about applying for the Indian visa. It’s super easy and now it is possible to get an online visa, the e-visa, in many situations, which makes it much easier.
India is an amazing and enormous country! With so much to see, it is difficult to organize a trip there and decide what you want to see!
I’ll explain here all types of available visas so you know which one you should apply for. We will also explain how to apply for the Indian e-visa and the regular visa at the consulate.
If you want to stay tuned to all posts about India and other destinations as well, just subscribe to our newsletter at the bottom of the page and be the first to know when there is brand new content here!
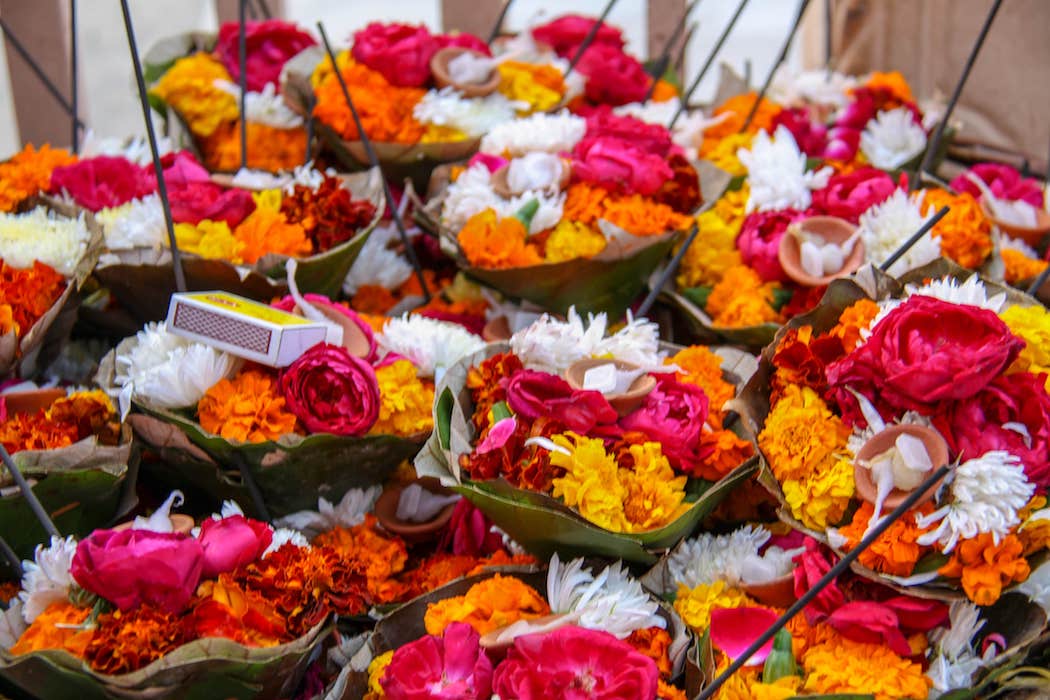
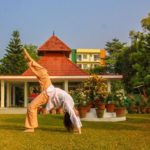
Offerings to the River Ganges in Rishikesh
Types of Indian Visas
The types of Indian Visas are:
- e-Visa;
- Business Visa;
- Visa Conference;
- Diplomatic Visa;
- Visa Employment;
- Emergency Visa;
- Visa Entry;
- Journalist Visa;
- Medical Visa;
- Missionaries Visa;
- Permit to re-enter within 2 months;
- Research Visa;
- Student Visa;
- Tourist Visa;
- Visa Transit;
- Visa Intern;
- Visa Film;
Below you can find further details about the most common types of visas that may be necessary for the readers of Mochilão a Dois and the costs of each (the prices might change a bit from country to country and depends on your nationality. The costs here are only an estimate. To be sure, check the fees in the Consulate website of the country where you are applying from):
Indian e-Visa – Online Visa
Allowed for quite a lot of countries.
Very easy to get. You don’t even need to leave your sofa! And the best thing is, you can apply for the Indian e-visa from anywhere in the world. Therefore, if you are already traveling and decide to go to India, this is the best visa to get.
This type of visa can be applied for the purpose of tourism, medical, conference, and business. For other purposes, it is necessary to go to the Indian Consulate.
Period: 1 year
Allowed entries: Multiple Entry
Cost: USD 80.00

Student Visa
In case you’re going to study in India, this would be the visa to apply.
However, if you are interested in a short period of a yoga or Ayurvedic medicine course, for example, the tourist visa is enough and you can apply for the e-visa.
There is also a special type of visa for students of yoga, Ayurvedic medicine, culture, dance and music but for this visa, you need the Indian institution to sponsor your trip.
Period: 5 years or the course period (whichever is shorter)
Allowed Entries: Multiple Entry
Cost: USD 80.00
Tourist Visa
Visa for tourists. The normal period of this visa is 6 months to 1 year with permission of multiple entries into the country, as long as no entry exceeds 90 days.
But there is still the possibility of up to 5 years if you can justify the reason for the consulate. That was my case.
As I live in Bhutan, a neighbour of India, and I need to go there often to travel to any other country or to go to Brazil (my home country), so I got the Indian visa for 5 years. My visa is multiple entries but I still cannot stay more than 90 straight days there!
In my situation, it’s a lot cheaper than getting the e-visa every time I travel. The normal tourist visa can be taken from any consulate, but for an Indian visa for more than 6 months, only the consulate of your own country can issue it.
Period: From 6 months to 5 years, depending on your needs. Simply explain your intentional period at the embassy;
Allowed Entries: Multiple Entry
Price: USD 100,00 up to 1 year; USD 200,00 up to 5 years
Transit Visa
Visa for those who will need to pass through India in transit to another country.
This visa only pays off if you are going to pass through India in only one of the routes (only on the way or only on the return) because it is cheaper than the e-visa, but you would have to apply for it twice if you pass through India on your round trip.
That’s because it only lasts 15 days after issuing and you are allowed to stay in India for only 3 days. So If you need to go through India again in your return trip, you will have to search the Indian consulate in the country where you are to get the transit visa again. It takes 3 days to be issued (so it is 3 days without a passport in a country that is not yours… not ideal!).
I don’t think the headache is worth it. The e-visa ends up being more comfortable in most cases.
Period: 15 days
Allowed Entries: Single or double (but within 15 days)
Price: USD 20,00
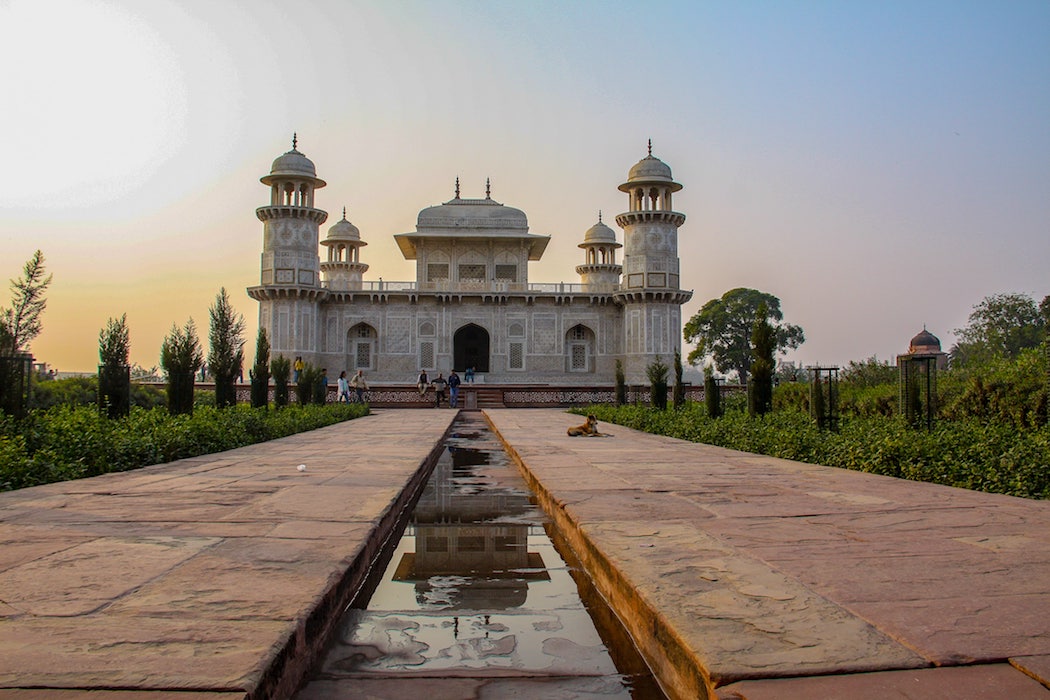
Baby Taj in Agra!
How to apply for the Indian Visa – Step by Step
Now that you know which type of visa applies you the best, let’s go for the step by step of applying for the Indian Visa.
I’ll explain how the two visa options work: the e-visa (online visa) and the regular visa (where you have to apply for the Indian visa in the Indian Consulate).
Applying for the Indian e-Visa (online Visa)
Beware of searching on Google the website for Indian e-Visa, there are some fake websites out there.
The correct website to apply for the Indian e-visa is: https://indianvisaonline.gov.in/evisa/tvoa.html
Let’s go to the Step by Step:
To start your registration, just click on e-Visa Application and the following screen will appear:
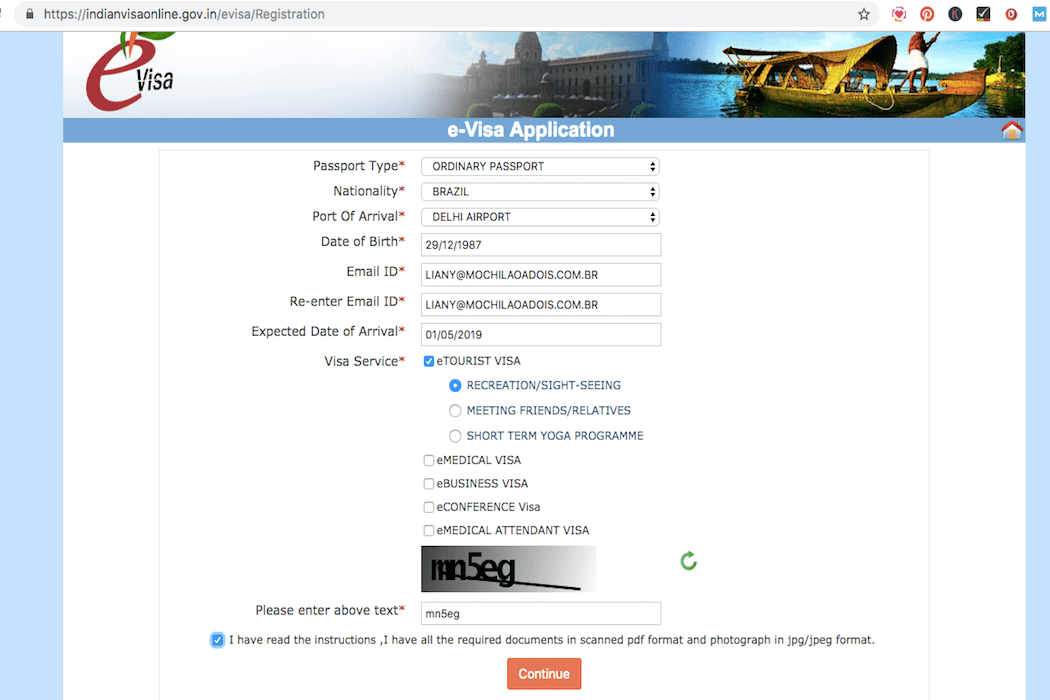
Fill in your details and choose the type of visa you want to apply for. They are:
- e-Tourist Visa (for tourism, a short period of a yoga course or visiting friends/family);
- e-Medical Visa (for medical needs);
- e-Conference Visa (if you are visiting for a conference);
- e-Medical Attendant Visa (If you are accompanying someone with medical visa)
Now, insert the code that appears in the gray square and you have to agree to the terms.
After that, you will receive a number in your email, your Temporary Application ID. You can stop at any time and then return to your application to continue filling it out.

e-mail received with the Temporary Application ID
If you want to go back at another time, simply go to the home page again and click on Complete Partially Filled Application and the following screen will appear:

Insert the number sent to your email, the Temporary Application ID, and you can continue filling it out normally.
On the next screen, you must include your personal data. If you have changed your name for some reason (marriage for example), remember to put this change here. Fill in as below.

Save and go to the next screen. On this screen, you will include your address information and your parents’ data as below.


Almost finalising
On the next screen, you should put the information about your trip to India as the places you want to visit, the name of the countries you have visited in the last 10 years and a reference in India (you can put here the information of the first hotel you will stay).

If you don’t have your hotel booked yet, take a moment to choose one now!
Remember that if you have already visited India before, you will also need to include the information from your previous visa.
On the next screen, you must answer the questions asked by the Embassy and confirm all the data.

At any time, you can go back to the previous screens to check the work done!
On the next two screens, you should upload a picture of your face with a white background, and your passport.
Take your picture on a white wall with your phone! That’ll be enough for the Indian visa. This is only for identification purpose.


The photo must be in JPG format and the passport must be in PDF format. You can take a photo of the passport with your mobile phone and use an app that converts to PDF (I use Iscanner).
Nearly there
Now, you should just confirm that all the data is OK! Tick Yes at the bottom of this page and pay the fee of USD 80.00 for a 1-year visa.

Remembering that it is not possible to stay more than 90 consecutive days in India, but as the e-Visa has multiple entries, you can return to India again in the period of 1 year.
Payment may take up to 2 hours to be confirmed. And after that, you will receive your e-visa in your email.
Just Print 2 pages (VERY IMPORTANT), because you will need to show at the entrance and exit (if you go more than once through India, print more copies).
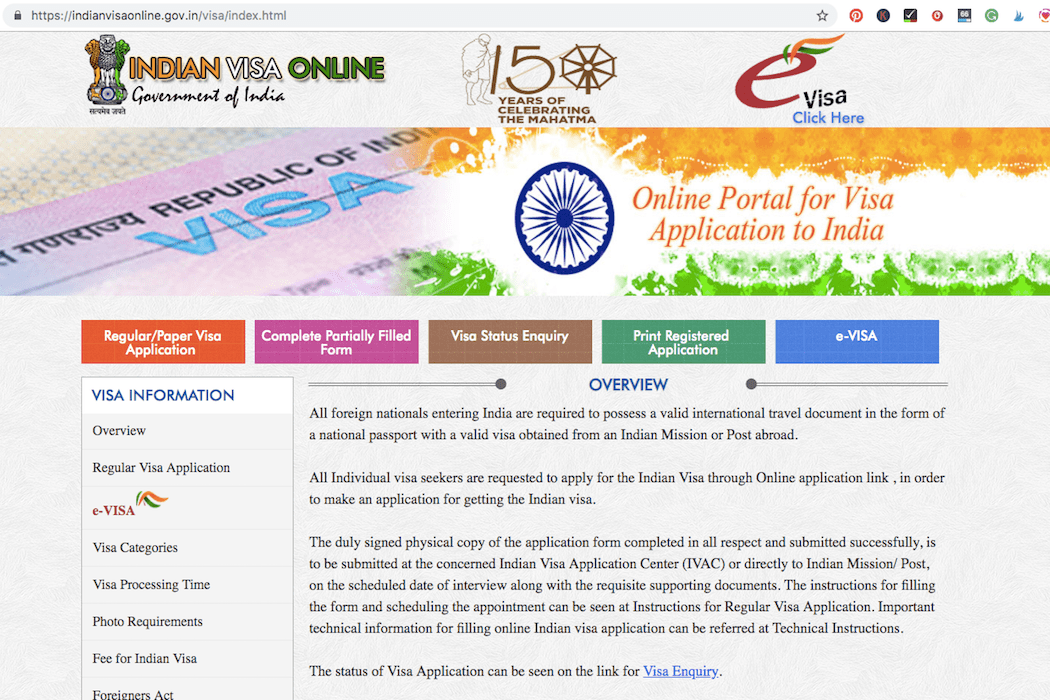
Applying for the regular Indian Visa – By the Consulate
If you need a period longer than a year for your visa or you are going to India for reasons not accepted by E-visa (such as to study or work), you will need to go to the consulate.
First, you will need to fill out a form. The website for the regular Indian visa application is ttps://indianvisaonline.gov.in/visa/index.html.
Just click on the Regular/Paper Visa Application and fill out the form.
The steps will be very similar to the previous process (the e-visa process).
Just follow the same steps outlined above on Applying for the Indian e-visa. The only difference is that you do not need to upload your passport. After checking all the data, you can finalize the application and print the document.
Documents Required for the Indian Visa
Now, you will need 2 5×5 photos with white background and attach the necessary documents to the visa. I recommend taking all the documents listed below:
- Application Form (Application Form) printed and signed at the corresponding locations;
- Passport Copy;
- Ticket to India;
- A document that clarifies the reason why you want the visa (like tourist visa for more than one year or justify another purpose) – it may be an employment contract or the confirmation of the course registration. In my case, I wanted a 5-year visa so I took my husband’s employment contract that confirms that we will live five years in Bhutan, in addition to my Bhutanese residency permit;
- Marriage Certificate (if you are traveling along with your spouse). In my case it was necessary to prove that my husband is a worker in Bhutan and I am married to him and therefore I can also live here;
- For Transit visas also attach the ticket indicating the departure of India and the visa of the country you are going to (if applicable);
- Any other document you may find necessary to justify your case;

Applying for the Indian Visa: At the Indian Consulate
With all the documents in hand, you can go to the Indian Consulate. You can check the address and the working hours at the website of the Indian Consulate at your country.
Usually, you can also find information about the payment of the fee at the local Consulate website, like the bank information for you to pay in advance if you wish, and also all the fees in the local currency.
Now that you are all set, you just have to start saving money for your trip. You can use the MaD Method to save for your next trip. If that is still not enough, you can also start renting out that spare room of yours for some extra money. What do you think?
Any questions?
Is there any doubt in the application for the Indian Visa process?
The Indian e-visa process is really easy and it is the recommended option for anyone who is going to India for tourism purposes.
I took the transit visa when I moved to Bhutan and needed to take the tourism one to visit Brazil. But now that I have the 5-years visa it gets a lot easier to go traveling in India!
Now I need to enjoy and visit the whole country, right?

I hope it helped!
Any further questions, ask us in the comments!
If you are going to travel through India, you may also be interested:
Don’t forget to share the post on Facebook and Pinterest with the buttons down here to help other travelers!
Note: There are some affiliate links in this post. Please be advised that you will not pay anything more for using these links and may even log into your account normally. But, we from “Mochilão a Dois”, will receive a small commission. If you like our work, please use our links and collaborate so that our blog continues to grow. We’ll be very happy:)
Liany is a pharmacist that worked for years in a big company. She left her safe job and comfortable life in Brazil to live an adventure in the remote Kingdom of Bhutan and, nowadays, lives in Thailand. The passion for traveling runs to her veins and she loves spending time in the travel blog, helping other travelers with her experiences or planning her next trip.
You may also like:
Ashram in India: Yoga and Meditation retreat in Rishikesh

Traveling to Indonesia: How to plan the itinerary (step-by-step) and how much it costs

2 days in Bangkok – What to do?
Plan your trip


Travel Insurance
O Seguro Saúde é obrigatório em muitos países! Viaje com tranquilidade e sem preocupações. Cote seu Seguro viagem com Desconto de até 10% na Seguros Promo.


Flight Tickets
Pesquise suas passagens aéreas com o Skyscanner, a melhor ferramenta para encontrar os voos mais baratos para a sua próxima viagem. Ou confira as promoções no Passagens Promo.
Like!! Great article post.Really thank you! Really Cool.
Hi Liany Garves,
Yesterday my friend ( who is living in Canada) asked me about how to apply for an Indian visa online. I had very little idea about this as I hardly travel anywhere. I will forward this to my friend. This you help her a lot. Thank you for writing such a good article.
Hello Amit! Thank you so much for your comment and I´m really glad you liked the article. I hope it helps your friend.
Pingback: Visa to Bhutan: Step-by-Step To Visit the Happiest Country in the World | Mochilão a Dois!